Getting started
How to Start a Sustainable Garden
A practical first-year plan for starting a sustainable garden: site mapping, compost, native plants, drip irrigation, and common beginner mistakes.
On this page
If you are staring at a patch of compacted lawn or a weedy corner and wondering where to begin, you are not alone. Most new gardeners try to fix everything at once—buying plants, fertilizer, and tools before they understand how sun and water move across their yard. A sustainable garden starts smaller: one bed, one compost system, and a clear picture of what your site actually needs.
This guide is for first-year gardeners who want to grow food or habitat plants while using less water, fewer bagged inputs, and no routine synthetic chemicals. You do not need a large property. A 4-by-8-foot bed and a kitchen scrap bin can be a legitimate starting point.
What Makes a Garden Sustainable?
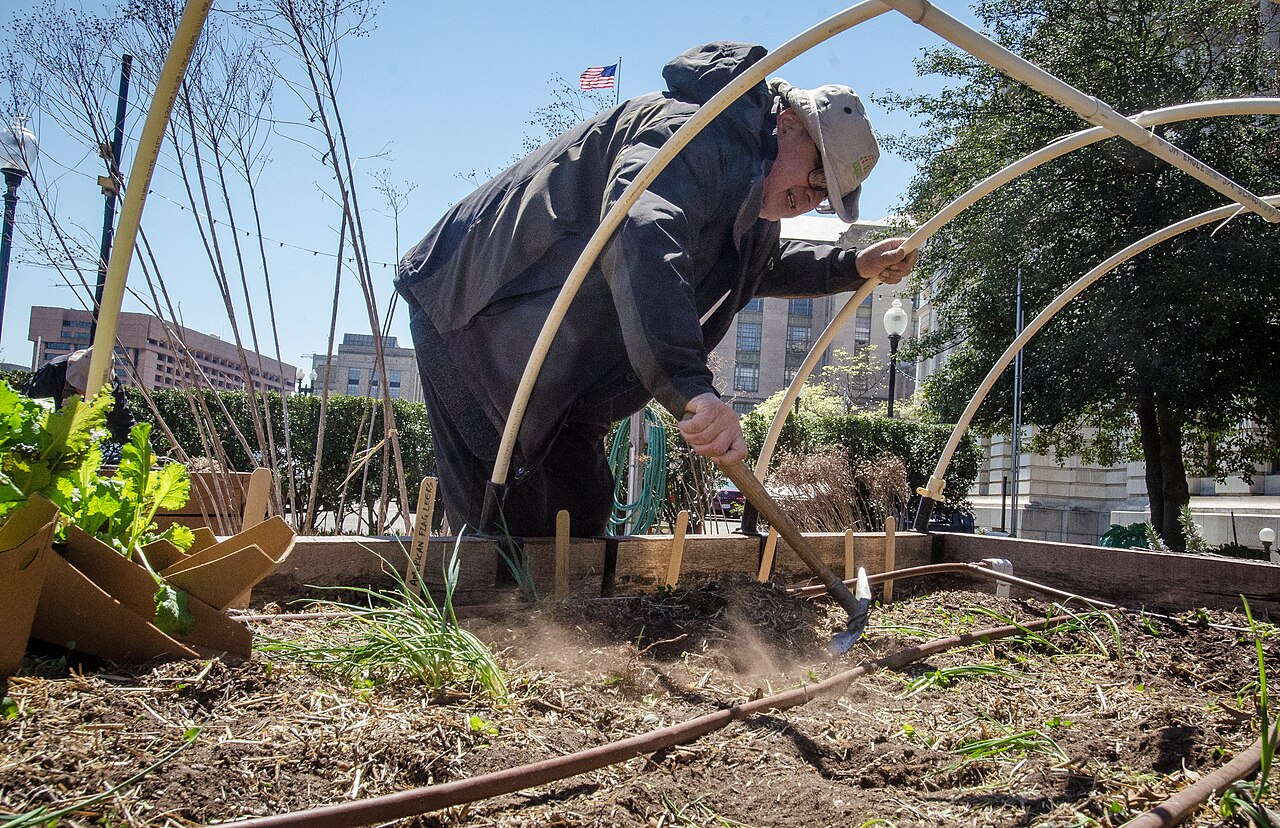
Sustainable gardening means designing a yard that needs fewer outside inputs over time: less municipal water, less purchased fertilizer, and less disturbance to soil life. It is not a certification label—it is a set of habits you refine season by season.
Organic gardening avoids synthetic chemicals. Sustainable gardening asks additional questions: Where does your compost come from? Are you watering efficiently? Do your plant choices support local insects? The two overlap, but they are not identical. USDA soil scientists organize the soil side of this around four principles—maximize living roots, minimize disturbance, maximize soil cover, and maximize biodiversity—and note that healthier soils absorb and retain more water, making them less susceptible to runoff and erosion.
Your First-Season Plan (Four Phases)
Spread this work across spring through fall rather than attempting it in one weekend. Here is the arc at a glance:
| Season window | Focus | Output |
|---|---|---|
| Early spring | Map sun, water, and access (one afternoon) | Site sketch and bed placement |
| Mid spring | Sheet-mulch the first bed (one weekend) | Bed built, cardboard curing |
| Late spring | Start compost loop; plant forgiving crops | Pile running; first sowings in |
| Summer | Drip on timer; 2–3 inches of mulch; observe pests | Steady watering rhythm |
| Fall | Top-dress compost; plant one native species | Beds closed down for winter |
Phase 1: Map your site (one afternoon)
Walk your yard at three times of day—early morning, midday, and late afternoon—and note where sun lasts six or more hours. UGA Extension puts sun first when siting any garden: vegetables and fruits need a minimum of six to eight hours of direct sunlight daily, with water close enough that you are not fighting more than about 100 feet of hose. Mark downspouts, low spots where frost might settle, and places where water pools after rain.
Before buying anything else, get a laboratory soil test. Penn State Extension recommends collecting cores 6 to 8 inches deep from 8 to 10 random spots across the garden, mixing them in a plastic bucket, and sending a single sample for pH, organic matter, and nutrient analysis—the results tell you whether lime or other corrections are needed before planting.
When I converted a client’s 12-by-16-foot side yard in Portland, the only truly sunny strip was 4 feet wide along a fence. We placed the vegetable bed there instead of fighting shade in the center. That single observation saved a season of struggling tomatoes.
- Materials: notebook, phone camera, optional soil thermometer
- Output: a simple sketch showing sun, shade, water, and access paths
- Common mistake: planting vegetables in “available space” rather than adequate light
Phase 2: Build soil without tilling (weekend project)
Skip the rototiller. Instead, use sheet mulching (lasagna gardening) or a no-dig compost layer on top of existing grass.
- Mow or scythe vegetation as low as possible; leave clippings in place.
- Lay overlapping cardboard (6-inch overlaps) and soak it thoroughly.
- Add 4 inches of compost or aged manure, then 2 inches of wood chips or straw on paths only—not directly against seedling stems.
What we measured
On my own 4-by-8 test bed, I kept simple records during the first five months after sheet-mulching an old lawn strip:
| Measurement | Start | After ~5 months |
|---|---|---|
| Cardboard layer condition | Intact sheets | Torn, mostly decomposed |
| Earthworms per 12-inch soil sample | 3 | 11 |
Author's own records; single-project observation, not a controlled trial.
The worm count was small, but it was enough to tell me the biology was waking up.
Advertisement
Phase 3: Start a compost loop
A sustainable garden generates its own fertility. Begin with a simple backyard compost pile or, if you are in an apartment, a countertop system.
- Minimum size for hot compost: 3 feet cubed
- Ratio: roughly 2 parts dry browns (leaves, shredded paper) to 1 part greens (kitchen scraps, grass clippings) by volume
- Turn when: the center drops below 90°F or smells sour
Expect 3 to 6 months for finished compost in a well-managed pile; faster if you chop materials small and turn weekly.
Phase 4: Plant for your climate and water budget
Choose plants that match your rainfall and sun. Native and region-adapted species typically need less supplemental water once established—usually after one or two full growing seasons of deep weekly watering.
For vegetables, start with forgiving crops: bush beans, kale, zucchini, and herbs. Add companion flowers like calendula or dill to attract predatory insects.
Containers and a working potting mix
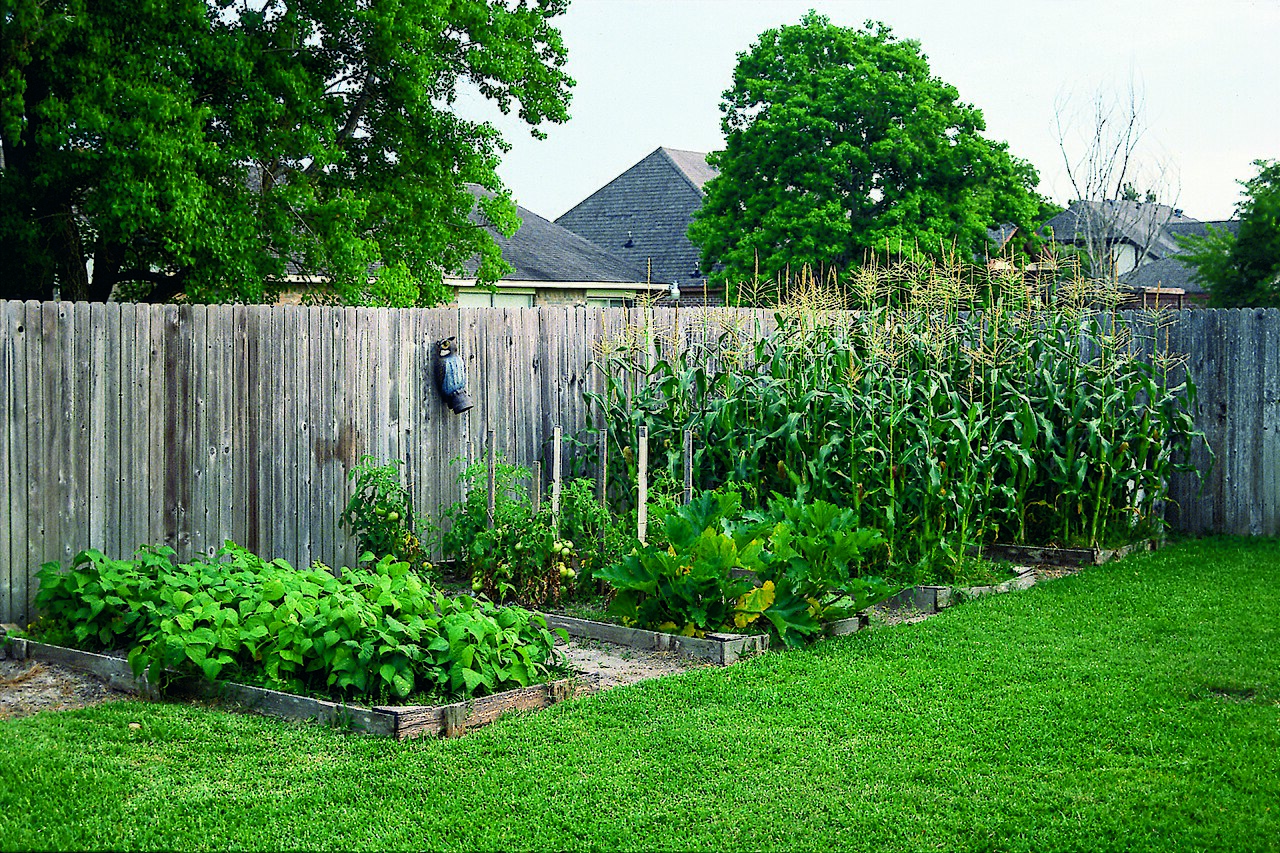
If your first “garden” is a balcony, skip native soil. Bagged garden dirt compacts in pots and drowns roots. Mix a peat-free potting mix yourself or amend a commercial organic potting mix:
- 60% coconut coir or a peat-free potting base (air and water holding)
- 25% finished compost (fertility; screen out twigs)
- 15% perlite or pumice (drainage)
Use a 5-gallon container with drainage holes for tomatoes or peppers; herbs tolerate 2-to-3-gallon pots. Water until it runs from the bottom, then wait until the top inch is dry. A cheap organic potting mix that stays soggy is worse than a smaller volume of a mix you can squeeze and watch spring back. We folded the old standalone potting-mix page into this starter guide so balcony gardeners get the mix recipe next to the first-season plan, not a separate thin article.
Water: Install Drip Before July Heat
Overhead sprinklers lose a meaningful share of water to evaporation and leaf wetting. Drip line or soaker hose delivers water at the root zone. The efficiency gap is real: EPA's WaterSense program reports that microirrigation—systems that deliver water directly to the root zone of plants, preventing runoff and reducing evaporation—uses 20 to 50 percent less water than conventional sprinklers.
For a 4-by-8 bed, I run two parallel drip lines 12 inches apart, 6 inches from the bed edges, on a battery timer set to 20 minutes three mornings per week in midsummer—then adjust after checking soil moisture 4 inches down.

Useful if you need pressure-regulated emitters and tubing for a first small bed; municipal water pressure above 40 PSI works best.
Pair drip with mulch. A 2-to-3-inch layer of arborist wood chips or straw can cut watering frequency noticeably in dry weeks.
First-Year Timing by Climate Zone
The four phases hold everywhere, but the calendar shifts with your winters, your summers, and your rain. Use this rough guide and fine-tune it against your local last and first frost dates:
| Climate | Start mapping & building | First plantings | Main adjustment |
|---|---|---|---|
| Cold winters, short season | As soon as soil thaws | Late spring | Mulch delays spring soil warm-up—pull it back off beds for a week or two before sowing |
| Temperate mid-latitudes | Early spring | Mid-spring onward | Standard timeline; build next year's beds in autumn |
| Very hot summers | Late winter | Early spring | Rush nothing into peak heat; shade cloth and heavier mulch carry beds through summer |
| Arid West | Early spring | After last frost | Water budget dominates—install drip before planting, not after |
| Mild winter / Mediterranean | Fall | Fall and late winter | Let winter rain cure sheet-mulched beds; dry summers make drip non-negotiable |
In my own projects this looked like autumn bed-building in the rainy Pacific Northwest, where winter precipitation does most of the decomposition work for free—and the reverse schedule in Sacramento, where the mild winter is the only comfortable working season and summer belongs to maintenance, not construction.
Conventional vs. Sustainable: What Changes?
| Practice | Conventional yard | Sustainable approach |
|---|---|---|
| Soil prep | Annual rototilling | Sheet mulch or compost top-dressing |
| Water | Sprinklers on a timer | Drip + mulch + rain catchment |
| Fertility | Soluble fertilizer schedule | Compost, cover crops, worm castings |
| Pests | Broad sprays | Barriers, hand removal, habitat for predators |
| Plant choice | Whatever looks good at the nursery | Climate-matched natives and food crops |
Mistakes I See Every Spring
- Over-fertilizing with manure or fish emulsion: excess nitrogen produces leafy growth that attracts aphids. A 1-inch compost top-dress once or twice a year is enough for most beds.
- Watering natives like lawn: established drought-tolerant plants need deep, infrequent soaks—not daily sprinkles. See our guide to drought-tolerant landscaping.
- Treating all insects as enemies: a garden with zero visible bugs is usually missing pollinators and predators. Tolerate minor leaf damage.
For a longer list of well-meaning missteps, read common eco-friendly gardening mistakes.
Weekend Quick Starts
- Install a rain barrel on one downspout (check local codes first).
- Sheet-mulch a 4-by-4-foot patch instead of your entire yard.
- Plant one native flowering species suited to your USDA zone.
- Run through our sustainable gardening checklist and check off what you already do.
Sources & further reading
- USDA Natural Resources Conservation Service — “Soil Health.” nrcs.usda.gov
- UGA Extension — “Siting a Garden.” extension.uga.edu
- Penn State Extension — “Soil Testing.” extension.psu.edu
- U.S. Environmental Protection Agency, WaterSense — “Microirrigation.” epa.gov
- UW–Madison Division of Extension — “Beginning Vegetable Garden Basics: Site Selection and Soil Preparation.” hort.extension.wisc.edu
Sources verified August 2026.
Frequently Asked Questions
How long does it take to build healthy garden soil?
Expect visible improvement in one season; a resilient soil food web often takes two to three years of compost, mulch, and minimal digging.
Can I start on a balcony?
Yes—use large containers, quality potting mix with compost, and a small composting method suited to your space.
Organic vs. sustainable—what is the difference?
Organic focuses on input choices; sustainable also weighs water, biodiversity, and long-term soil health.
Will I weed more?
Often less after year one if you mulch and plant densely. The first season may require regular hand-weeding.
How do I handle pests without synthetics?
Observe first, use row covers and beneficial habitat, and spray only as a last resort in the evening.
Advertisement